How to use the 32-bit and 64-bit versions of the IBDR backup agent on a single system
Introduction
This article is a step-by-step guide on how to configure clients and backup agents to use both 32 and 64 versions of the backup agent on a single system.
This may be useful in the following scenarios:
- Agent-based file level backup of the exchange database (64-bit backup agent) and agent-based file level backup of the exchange mailbox (32-bit backup agent) are on the same machine.
In this article we will be editing the configuration of the 32-bit agent and client to use the port 9101, leaving the default port 9102 for the 64-bit agent and client.
Instructions
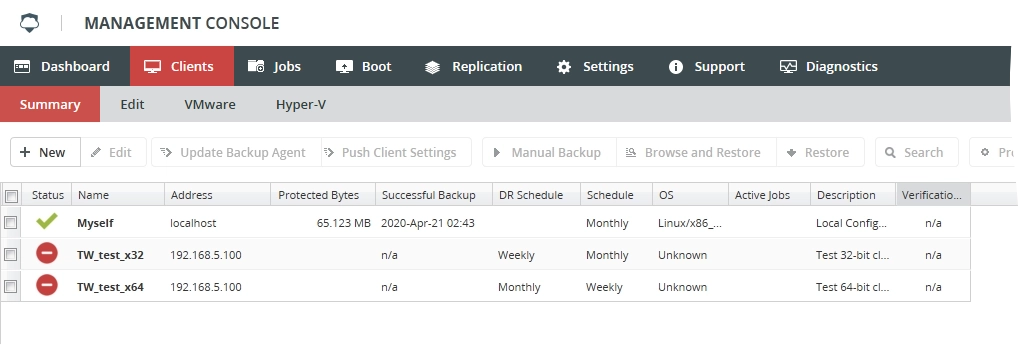
1) Create two clients (without pairing) for the same machine you want to back up.

You can find the steps to create the clients in the following article:
How to create and pair a client on the IBDR Appliance
How to create and pair a client on the IBDR Appliance
2) Configure the client dedicated to the 32-bit backup agent
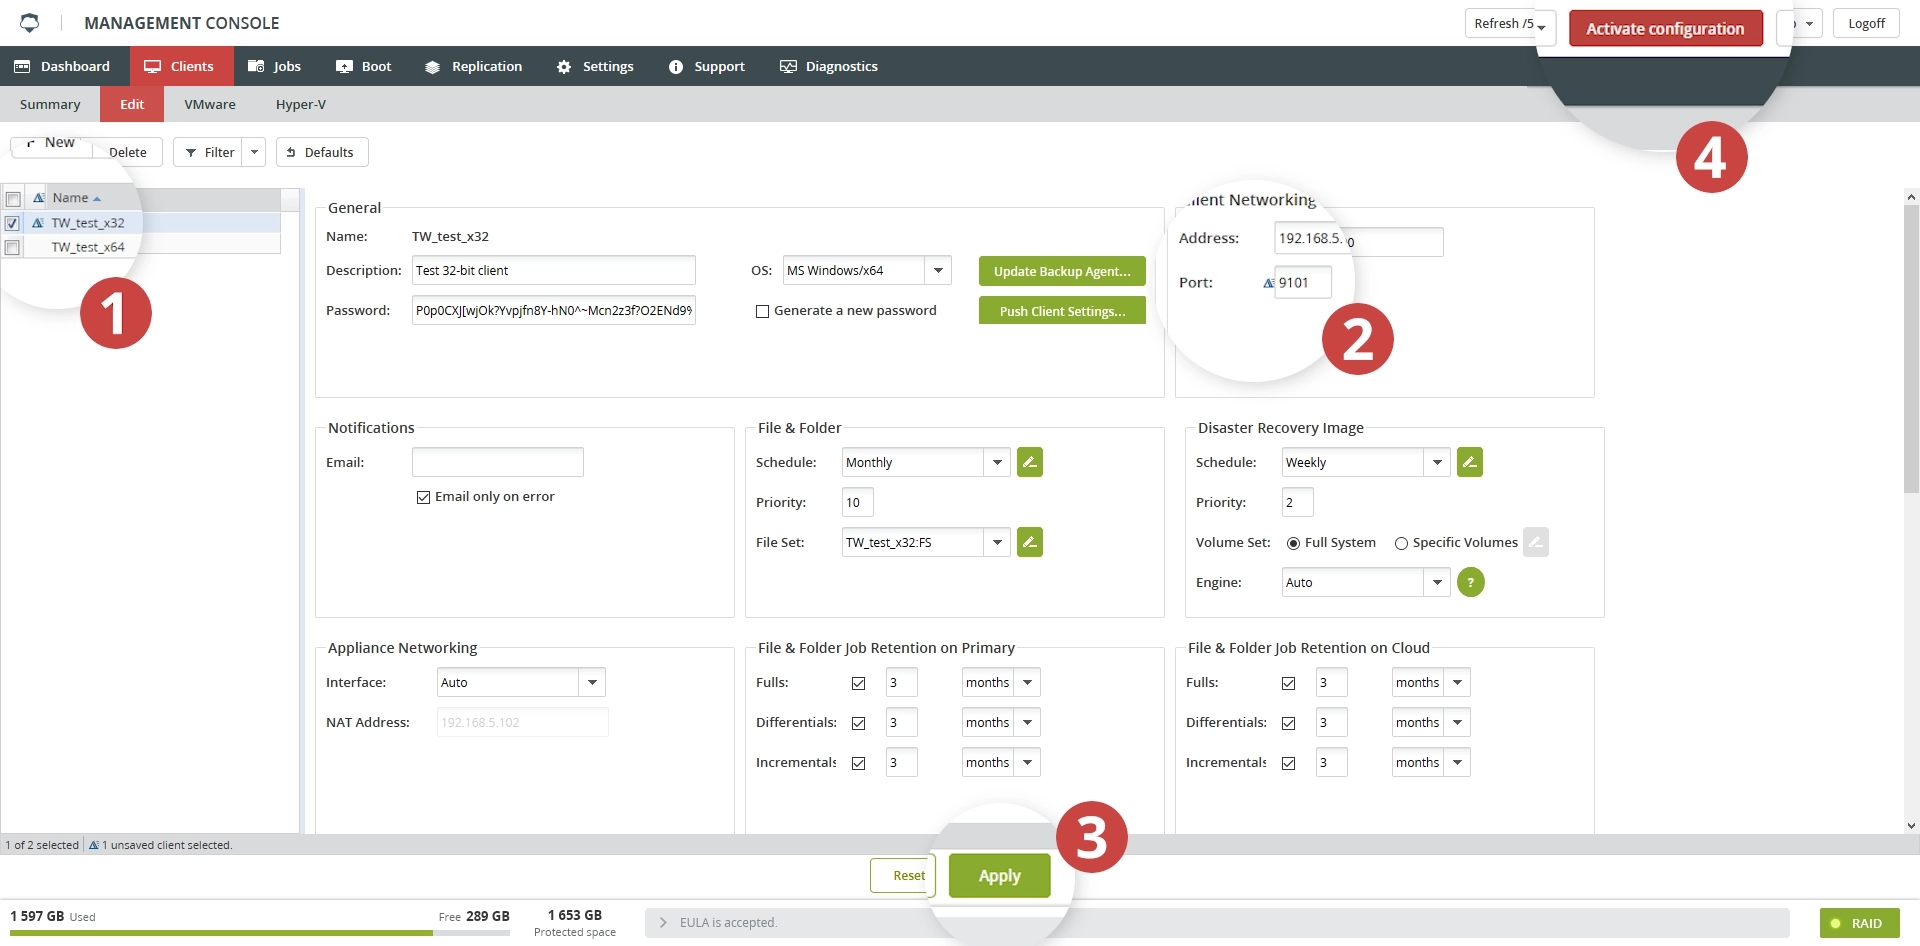
2.1) In the IBDR Appliance Management Console, go to Clients › Edit.
2.2) Select the client dedicated to the 32-bit backup agent.
2.3) In the Client Networking group, set the port to "9101".
2.4) Click Apply to save changes.
2.5) Click Activate configuration so the changes take effect.
This client will use the 32-bit version of the backup agent to pair with the appliance.
3) Install and configure the 32-bit version of the backup agent on the client
3.1) Install the 32-bit version of the backup agent on the target machine.
3.2) Run the configuration utility for the backup agent.
You can find the configuration utility (RVXConfig.exe) for the 32-bit version of the backup agent in C:\Program Files (x86)\RVX-Backup.3.3) On the Appliance tab, select Manually Assign Appliance Information, enter the port
9101, and then click Apply.
3.4) In the appliance Management Console:
- Go to Clients › Edit.
- Select the client where you installed the 32-bit backup agent.
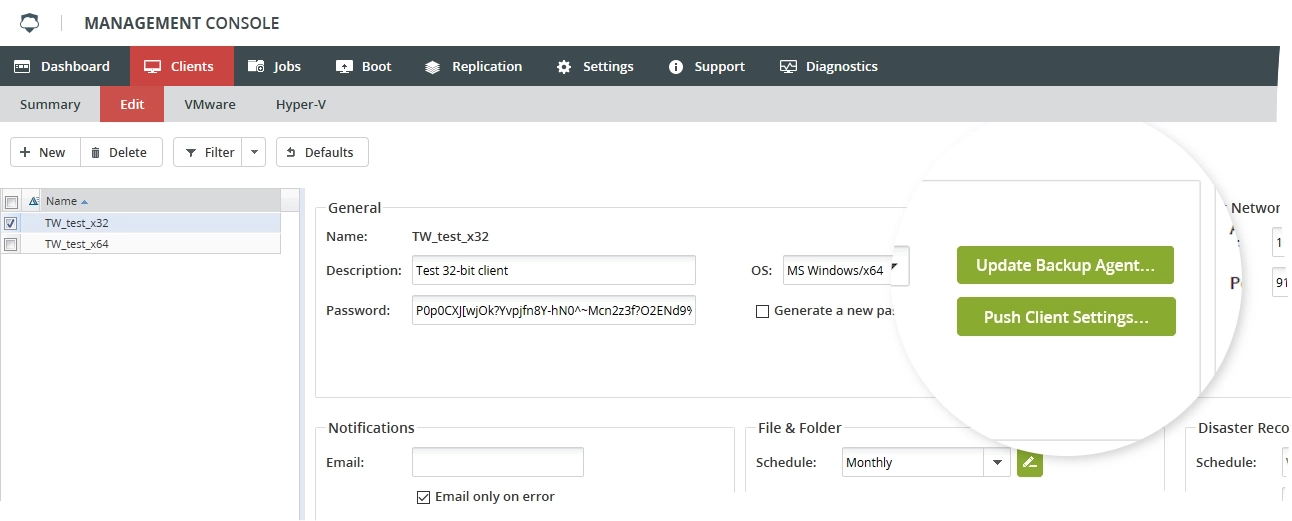
- In the General group, click Push Client Settings.
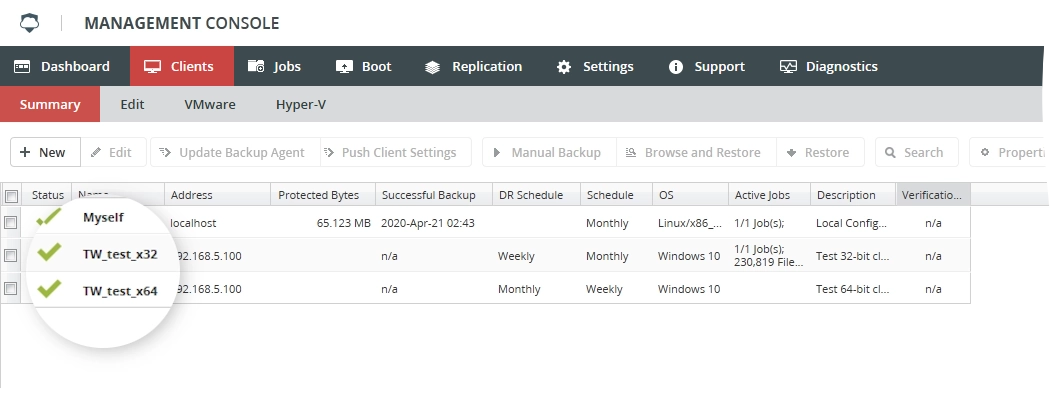
 It will take a few minutes for the backup agent and the appliance to connect.You can verify that the client is paired with the appliance using the 32-bit version of the backup agent by going to Clients › Summary on the appliance Management Console.
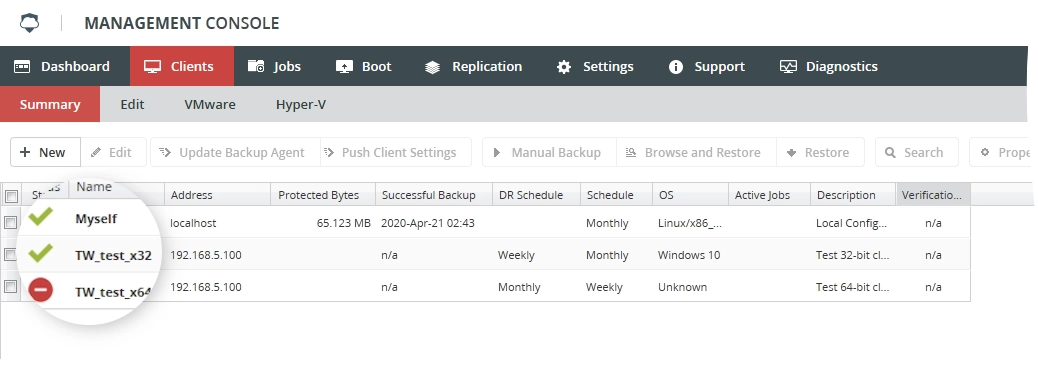
4) Install and configure the client dedicated to the 64-bit backup agent
4.1) Install the 64-bit version of the backup agent on the target machine.
4.2) In the appliance Management Console, go to the Clients › Edit.
4.3) Select the client dedicated to the 64-bit backup agent.
4.4) In the General group, click Push Client Settings.

It will take a few minutes for the backup agent and the appliance to connect.
You can verify that the appliance is paired with both the 32-bit and 64-bit versions of the backup agent by going to Clients › Summary on the appliance Management Console.
Related Articles
How to manually update or reinstall the IBDR backup agent for Windows
Introduction Whenever there is an update to the IBDR Appliance firmware an update to the backup agent will also be released. In order to take advantage of any new features released in the firmware update, and to address any major issues, it is ...How to unpair a backup agent for Windows from an IBDR Appliance
Introduction It may be necessary to change a pairing of the backup agent and IBDR appliance in the following cases: Preparing the backup agent to be paired with another appliance. Unpairing and pairing the backup agent with the same appliance for ...How to resolve the error 'Element not found' during backup agent installation
Introduction An installation of the IBDR (Infrascale Backup & Disaster Recovery) backup agent may fail with the following error message: One or more issues caused the setup to fail. Please fix the issues and then retry setup. For more information see ...How to resolve the error 'The request was aborted: Could not create ssl/tls secure channel' during backup agent installation
Introduction Installation of the IBDR (Infrascale Backup & Disaster Recovery) backup agent may fail with one of the following error message: System.Net.WebException: The remote server returned an error: (403) Forbidden. System.Net.WebException: The ...How to restore a Full System using Disaster Recovery Image backup job
We’ve created a detailed guide in our knowledge base to make bare-metal (agent-based) full system image restores as straightforward as possible. The article walks you through each step, helping you quickly recover your entire system from an ...